Hey guys! Today’s post is all about getting the perfect picture for Instagram! I get so many comments about how I edit my instagram [ESPECIALLY after my How to Look Good In Every Picture: 10 New Instagram Secrets video] Since you guys asked me to do an updated ‘How I edit my photos for Instagram’ post that’s what I’m doing today!
This post is going to be my process on how I actually edit my photos for instagram / my instagram hacks for my grey theme. This is how I shoot my pictures / what kind of lighting do I use, apps, filters, grids + more.
These are the actual editing secrets I use to edit my photos for Instagram. The photo editing apps I mention: Afterlight, Facetune + VSCO cam.
INSTAGRAM EDITING SECRETS: HOW I ACTUALLY EDIT MY PHOTOS FOR INSTAGRAM
1. GREY THEME
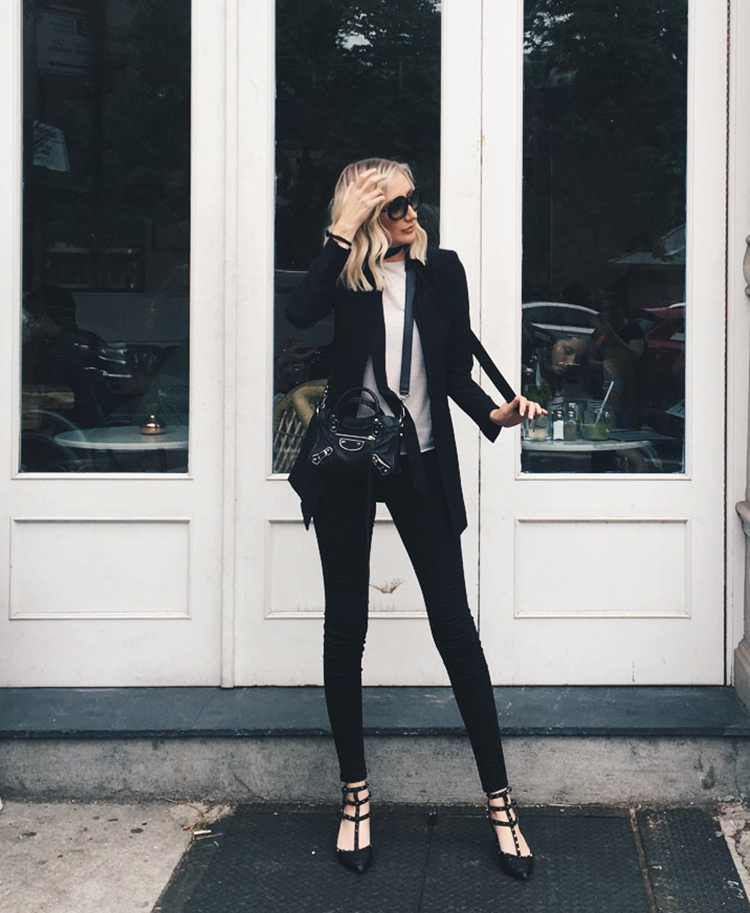
My instagram is a ‘grey theme’ but I wouldn’t really call it a ‘theme’ as much as I would call it an ‘allergic reaction to color’. I shoot my photos in mostly grey / neutral / white areas.
2. LIGHTING
Instagram editing videos might tell you to get professional lighting for your pictures, but natural / cloudy days are actually the prettiest lighting- and it’s free. I try to shoot my pictures in all the same type of lighting so they look cohesive.
3. EDITING LIGHTING: AFTERLIGHT
I always adjust the lighting in afterlight first: I use the exposure tab to make it lighter and brighter
4. COLOR CORRECTION
I correct the color in Afterlight to make it as true to real life as possible. Remove any color casts / redish / greenish tints from shooting outdoors.
5. WHITEN
I will use the whiten tool in facetune if the entire photo doesn’t have a color cast but there are some specific tones /areas that are off. Use the whiten tool over neutral areas that have lost their true color / to make whites actually white etc.
6. DETAILS
I use details in facetune to sharpen up areas that I want to pop: nails, bags, etc.
7. MY FILTER
Use the same filter on all of your photos if you want them to have a cohesive feeling / ‘theme’ to them. I use HB2 in VSCO cam for all of my photos at around 5/6.
8. CHECK THE GRID
I see how my photos look next to each other before I post by uploading them to my grid in VSCO cam. This way I can make sure all of the tones match.
9. ALTERNATE DEPTHS OF FIELD
Alternate the depths of field between your posts to really give your feed a more elevated look. Alternate between close / far / midlength. Ex: If you posted a selfie, post a farther away photo next.
Let me know if you found this post helpful – and if you have any apps or tips you want to share, leave it in the comments!
——————–
Now that you know how to edit your photos, make sure to check out my video on:
HOW TO LOOK GOOD IN EVERY PICTURE: 10 NEW INSTAGRAM SECRETS! How to pose, how to get strangers to take your picture and how to like how you look in your instagram pictures!
——————–
JN says:
I agree with the natural lighting. Sometimes that’s best tool for an amazing picture is the natural light. Great post!
Kristen Robin says:
I think the depth of field tip is really a good one, its not something that you would naturally think of right off the bat, but it makes all the difference in the overall result!!
http://www.kristenskouture.com | Luxury. Fashion. Lifestyle.
.
Helen says:
Thanks for the tips!
XO Helen | http://www.KaleidscopeSpinning.com
Sisi says:
I love the tip about alternating depth of field! I really think that it makes a difference when looking at someone’s feed! You’re seriously #InstaGoals
-Sisi
Modern Beauty Girl
maya says:
loved this! where did you get that jacket? it looks so nice